Follow Me On Social Media!
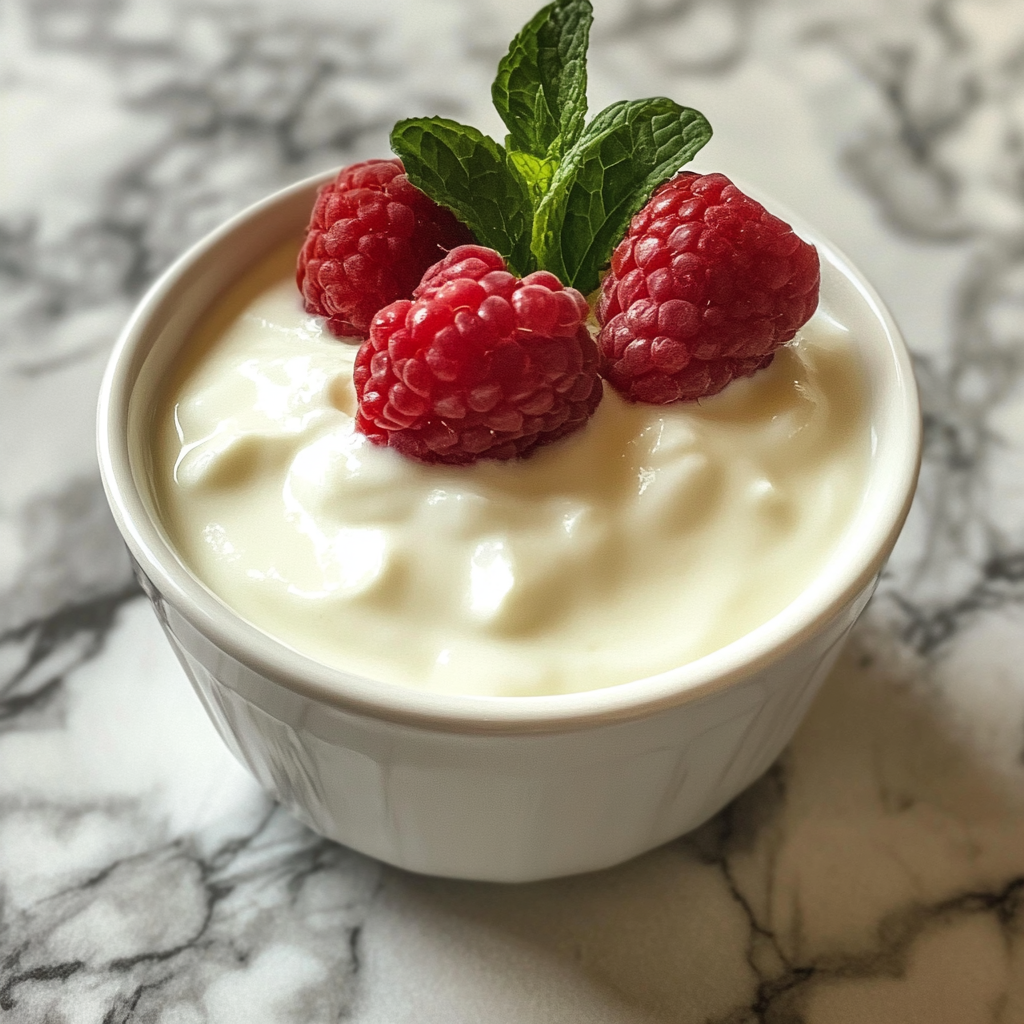
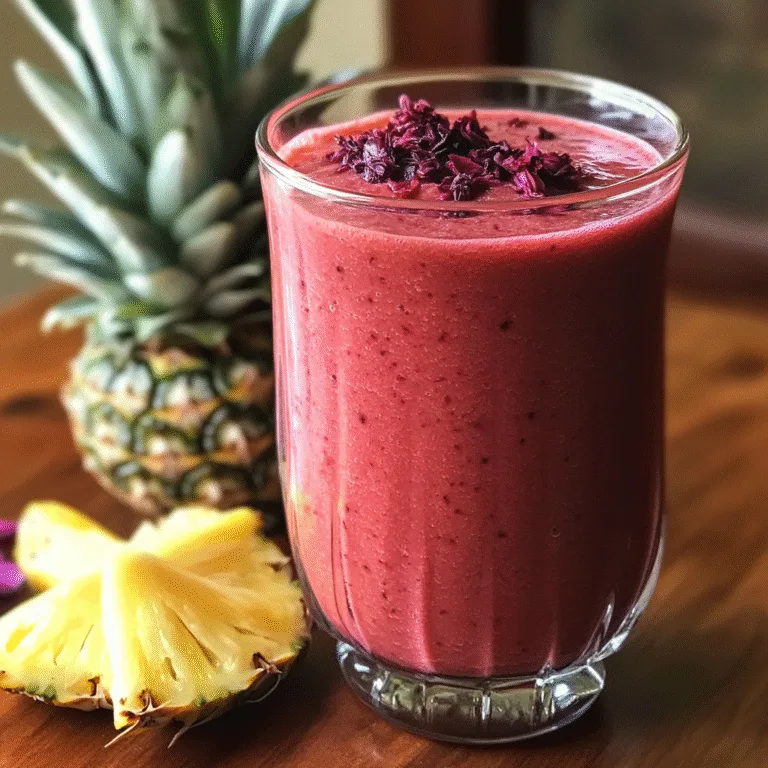
Homemade Drinkable Yogurt
Introduction
Did you know that store-bought drinkable yogurt can contain up to 25 grams of added sugar per serving – nearly your entire daily recommended intake? This shocking statistic might make you reconsider your morning yogurt routine. The good news is that making homemade drinkable yogurt is surprisingly simple, incredibly cost-effective, and allows you to control every ingredient that goes into your glass.
Homemade drinkable yogurt, also known as liquid yogurt or yogurt smoothie, offers a creamy, refreshing alternative to commercial versions packed with artificial flavors and excessive sweeteners. By crafting your own probiotic-rich beverage at home, you'll enjoy better nutrition, superior taste, and significant savings – all while knowing exactly what you're consuming.
Whether you're seeking a protein-packed breakfast drink, a post-workout recovery beverage, or a healthy snack for the family, this comprehensive guide will transform your kitchen into a yogurt-making haven. Let's dive into the world of homemade liquid yogurt and discover how easy it is to create this nutritious drink from scratch.

Ingredients List
Creating the perfect homemade drinkable yogurt requires just a handful of quality ingredients. Here's everything you'll need for this probiotic powerhouse:
Base Ingredients:
- 4 cups whole milk (or 2% milk for lighter consistency)
- 2 tablespoons plain Greek yogurt with live cultures (as starter)
- 1-2 tablespoons honey or maple syrup (adjust to taste)
- 1 teaspoon vanilla extract (optional)
Flavor Variations:
- 1 cup fresh berries (strawberries, blueberries, or raspberries)
- 1 ripe banana for tropical sweetness
- 2 tablespoons cocoa powder for chocolate lovers
- 1 tablespoon peanut butter for protein boost
Possible Substitutions:
- Dairy-free option: Replace milk with coconut milk or oat milk
- Sugar alternatives: Use stevia, monk fruit, or dates for natural sweetness
- Starter substitute: Use store-bought plain kefir if Greek yogurt isn't available
- Protein enhancement: Add a scoop of vanilla protein powder for extra nutrition
The key to exceptional homemade liquid yogurt lies in using fresh, high-quality milk and ensuring your starter yogurt contains active live cultures for proper fermentation.
Timing
Preparation Time: 15 minutes
Culturing Time: 6-12 hours
Chilling Time: 2 hours
Total Time: 8-14 hours
While the total time might seem lengthy, most of it is hands-off culturing time. Compared to store-bought alternatives that require frequent shopping trips, making homemade drinkable yogurt actually saves time in the long run. The active preparation takes just minutes, making this an incredibly efficient way to ensure a week's supply of healthy, probiotic-rich beverages.
Step-by-Step Instructions
Step 1: Heat the Milk
Pour your milk into a heavy-bottomed saucepan and heat over medium-low heat until it reaches 180°F (82°C). Use a candy thermometer for accuracy. This heating process denatures the proteins, creating a smoother, thicker yogurt base. Stir occasionally to prevent scorching, and watch carefully as milk can quickly overflow once it starts bubbling.
Pro tip: If you don't have a thermometer, heat until small bubbles form around the edges and steam rises from the surface.
Step 2: Cool the Milk
Remove the milk from heat and let it cool to 110°F (43°C). This temperature is crucial – too hot will kill the beneficial bacteria in your starter, while too cool won't activate proper fermentation. Speed up cooling by placing the pot in an ice bath, stirring occasionally.
Step 3: Add the Starter
In a small bowl, whisk together ½ cup of the cooled milk with your Greek yogurt starter until completely smooth. This tempering process prevents the starter from clumping. Gradually whisk this mixture back into the remaining milk, ensuring even distribution throughout.
Step 4: Incubate for Culturing
Transfer the mixture to clean glass jars or containers. Cover with lids or clean kitchen towels and place in a warm environment (100-110°F) for 6-12 hours. Options include:
- Yogurt maker
- Oven with light on
- Dehydrator
- Warm spot near a heater
The longer you culture, the tangier and thicker your homemade drinkable yogurt becomes.
Step 5: Check and Chill
After culturing, your yogurt should have a tangy aroma and slightly thick consistency. Refrigerate for at least 2 hours to stop fermentation and achieve the perfect drinkable texture.
Step 6: Blend and Flavor
Once chilled, blend your yogurt with desired flavorings, sweeteners, and any additional ingredients. Start with small amounts of sweetener and adjust to taste. For ultra-smooth liquid yogurt, strain through fine mesh if desired.
Nutritional Information
Per 8-ounce serving (plain version):
- Calories: 140-160
- Protein: 8-10 grams
- Carbohydrates: 12-15 grams
- Fat: 6-8 grams (varies with milk type)
- Fiber: 0 grams
- Sugar: 12 grams (naturally occurring lactose)
- Calcium: 280-300mg (28-30% daily value)
Health Benefits:
Homemade drinkable yogurt provides an excellent source of probiotics, supporting digestive health and immune function. The high-quality protein aids muscle recovery and satiety, while calcium strengthens bones and teeth. Unlike commercial versions, your homemade liquid yogurt contains no artificial preservatives or excessive added sugars.
Healthier Alternatives for the Recipe
Transform your homemade drinkable yogurt to meet various dietary needs:
Low-Calorie Version: Use skim milk and sugar-free sweeteners like stevia or monk fruit. Add fresh berries for natural sweetness without excessive calories.
Vegan Alternative: Substitute dairy milk with full-fat coconut milk or cashew milk, and use coconut yogurt as your starter. The fermentation process works similarly with plant-based alternatives.
Keto-Friendly Option: Use heavy cream mixed with water (1:1 ratio) instead of milk, and sweeten with erythritol or stevia. Add MCT oil for additional healthy fats.
Protein-Boosted Version: Incorporate unflavored collagen peptides or plant-based protein powder after fermentation for enhanced protein content without affecting the culturing process.
Lower Sugar Content: Skip added sweeteners entirely and rely on vanilla extract, cinnamon, or fresh fruit for flavor enhancement.
Serving Suggestions
Elevate your homemade drinkable yogurt experience with these creative serving ideas:
Breakfast Pairings: Serve alongside whole grain toast, granola parfaits, or fresh fruit bowls. The protein-rich liquid yogurt complements fiber-rich foods beautifully.
Smoothie Base: Use your homemade drinkable yogurt as a smoothie foundation, blending with spinach, frozen fruits, and chia seeds for a nutrient-dense meal replacement.
Post-Workout Recovery: Combine with a banana and a tablespoon of almond butter for optimal protein-carbohydrate recovery ratio.
Dessert Alternative: Freeze in popsicle molds with fresh berries for a healthy frozen treat, or use as a base for overnight oats.
Garnish Ideas: Top with toasted nuts, coconut flakes, fresh herbs like mint, or a drizzle of raw honey for added texture and flavor complexity.
Common Mistakes to Avoid
Temperature Errors: The most frequent mistake is incorrect temperatures during culturing. Too hot kills beneficial bacteria, while too cold prevents proper fermentation. Always use a thermometer for accuracy.
Contaminated Equipment: Ensure all utensils, containers, and surfaces are thoroughly clean. Any unwanted bacteria can interfere with proper yogurt development and create off-flavors.
Impatient Culturing: Rushing the fermentation process results in thin, insufficiently tangy yogurt. Allow adequate time for proper culture development.
Wrong Starter Choice: Using yogurt without live active cultures or expired starter will prevent fermentation. Always check labels for "live and active cultures" and use fresh starter.
Over-Blending: Excessive blending can break down the yogurt's structure, creating a thin, separated texture. Blend just until smooth and combined.
Storing Tips
Refrigeration: Store your homemade drinkable yogurt in clean, airtight glass containers in the refrigerator for up to 7-10 days. Glass containers prevent flavor absorption and maintain optimal freshness.
Freezing Guidelines: While possible, freezing changes the texture of liquid yogurt, making it grainy upon thawing. If freezing, use within 1 month and blend thoroughly after thawing to restore smoothness.
Separation Solutions: Natural separation is normal for homemade drinkable yogurt. Simply stir or shake before serving to recombine ingredients.
Flavor Preservation: Add fresh fruits and flavorings just before consumption rather than storing flavored versions long-term to maintain optimal taste and texture.
Container Considerations: Use individual serving-sized containers for portion control and convenience, especially for packed lunches or on-the-go consumption.
Conclusion
Creating homemade drinkable yogurt transforms your kitchen into a health-conscious haven while saving money and ensuring quality ingredients. This simple yet rewarding process puts you in complete control of flavors, sweetness levels, and nutritional content – something impossible with store-bought alternatives.
The satisfaction of crafting your own probiotic-rich beverage, combined with the superior taste and nutritional benefits, makes this recipe an invaluable addition to your culinary repertoire. From breakfast fuel to post-workout recovery drinks, homemade liquid yogurt adapts to your lifestyle needs while supporting your health goals.
Ready to revolutionize your yogurt game? Gather your ingredients, set aside some time for culturing, and embark on this delicious journey toward healthier, homemade nutrition. Share your flavor combinations and culturing experiences in the comments below – we'd love to hear about your homemade drinkable yogurt adventures!
FAQs
Q: How long does homemade drinkable yogurt last in the refrigerator?
A: Properly stored homemade drinkable yogurt stays fresh for 7-10 days in the refrigerator. Always check for any off-odors or unusual separation before consuming, and use clean utensils when serving to prevent contamination.
Q: Can I use my homemade yogurt as a starter for the next batch?
A: Yes, but only for 3-4 generations maximum. After that, the bacterial cultures weaken, resulting in inconsistent fermentation. Reserve 2 tablespoons of fresh yogurt from each batch, and consider purchasing new starter every month for optimal results.
Q: Why is my homemade drinkable yogurt too thin or not setting properly?
A: Thin yogurt typically results from incorrect temperatures, insufficient culturing time, or inactive starter cultures. Ensure your milk reaches 180°F during heating, cools to 110°F before adding starter, and maintains proper incubation temperature for 6-12 hours.
Q: Is it safe to make yogurt without a yogurt maker?
A: Absolutely! Many alternative methods work effectively, including using an oven with the light on, a slow cooker on warm setting, or even a sunny windowsill. The key is maintaining consistent temperature between 100-110°F during the culturing period.


